For all of us with NonSaleen Explorer's that got the Saleen Wing
with out the Saleen not supplied lift glass shocks I have a free solution for
you! After spending an hour and a half at AutoZone's lift shock section (I
had both little helpers with me) and the only shock I could find that was the
right length was also a 150 lbs lift. I thought I would try it and I would
have broken the glass before it would have closed. So I took it back and
went home with a the thought of moving the mount on the back gate down an inch
or so. But after looking at it for a while there was not really a way to
move that. So I was inspecting my stock lift glass shock and had a
brainstorm! ![]() (I'm using the "Bull tihs"
smiley for Brain Storm since it has a BS, I'm so smart!) So on to my
idea...
(I'm using the "Bull tihs"
smiley for Brain Storm since it has a BS, I'm so smart!) So on to my
idea...
I go to looking at the plastic piece that is on the end of the internal strut and thought that I could knock it off and then cut the strut and reattach it! Damn, I was right, it worked!
So I want to pass this on to everyone else here at the best little Explorer Shack in Town.
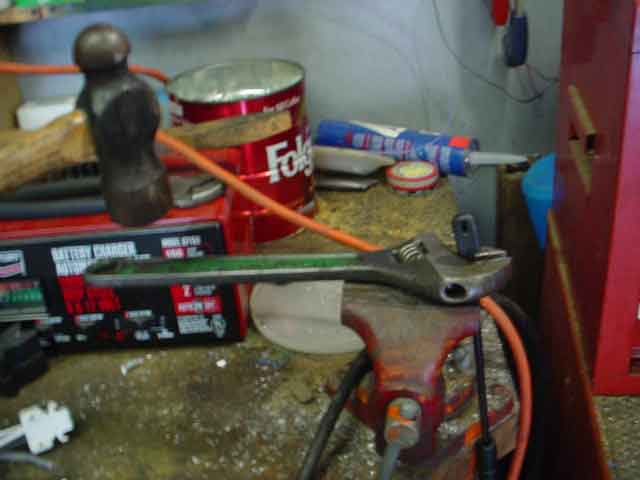
I took the shock and put in the vise and then using a big wrench and a Big F'n Hammer I popped it right off...
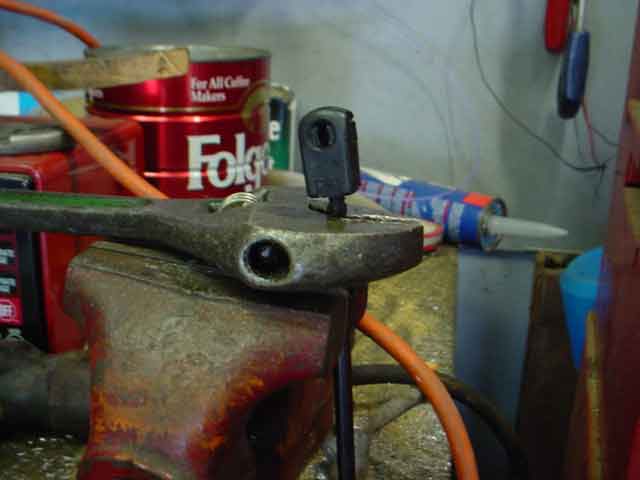
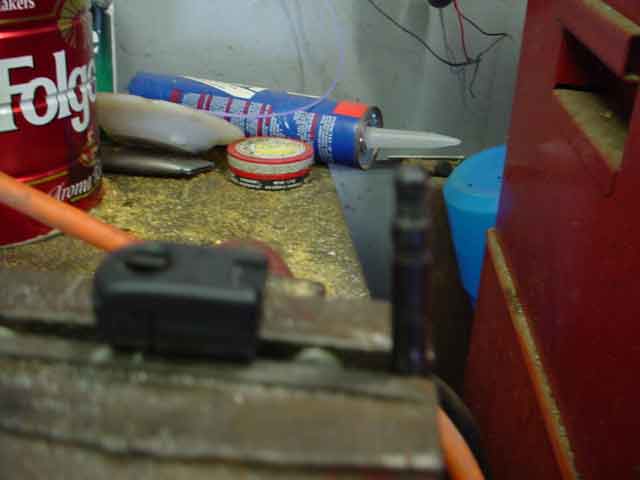
There it is off and ready for the next step:
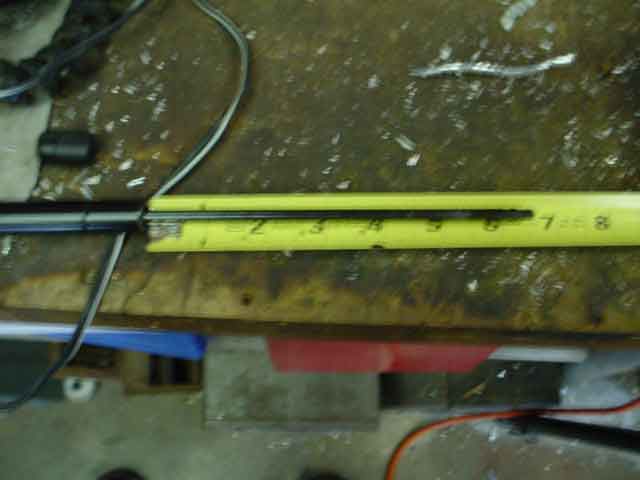
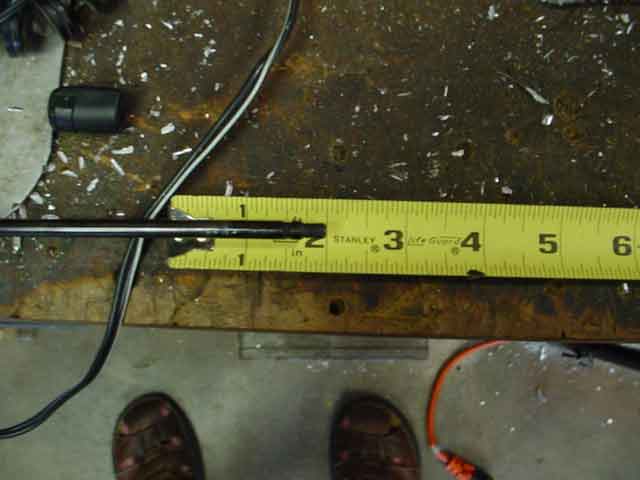
I measured and determined that I needed to take exactly 2"'s off the shaft to have it open where it needed to be just under the glass.
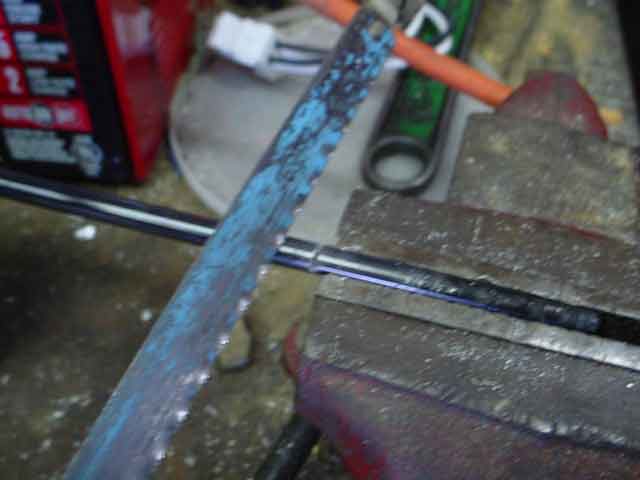
Using a fine tooth hack saw I cut it off. Went very smoothly too.
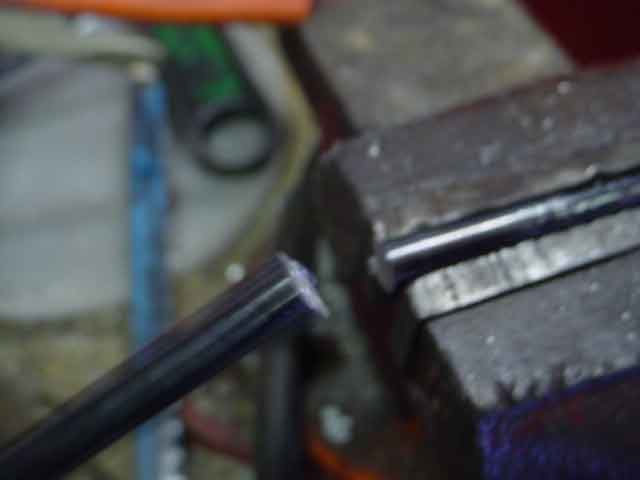
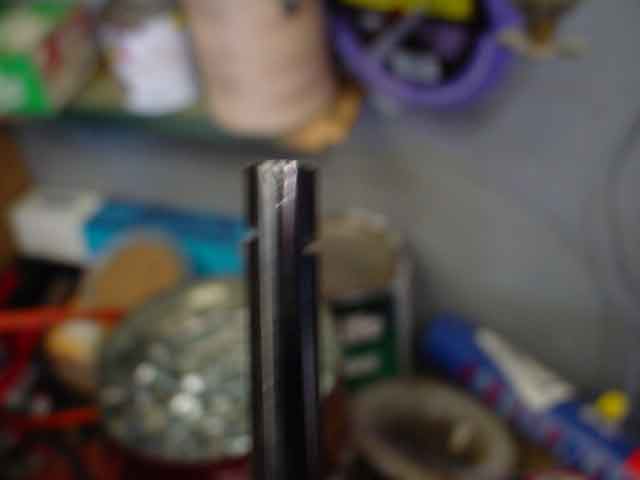
Then I notched the shaft so there would be something to "bite" on too when I put the knob back on.
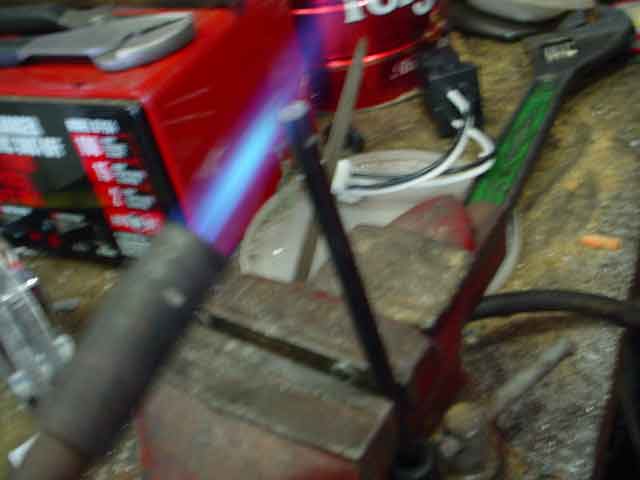
First I thought I would just heat it up and force the knob on and it would melt and then cool and be all set. However, that did not work. The material that the knob really did not melt very well, even when I had the shaft orange. So I decided to use, see next pic...
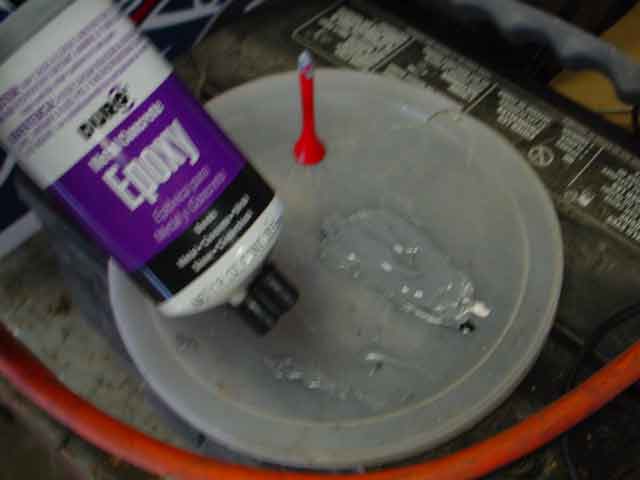
Epoxy. Two part Metal/Concrete ton and a half epoxy. I mixed up a little and used a golf tee to put some in the knob and then in the notches on the shaft.
Then I put the knob in the vise and set the shock in it and let\par it set like that for 20 minutes.
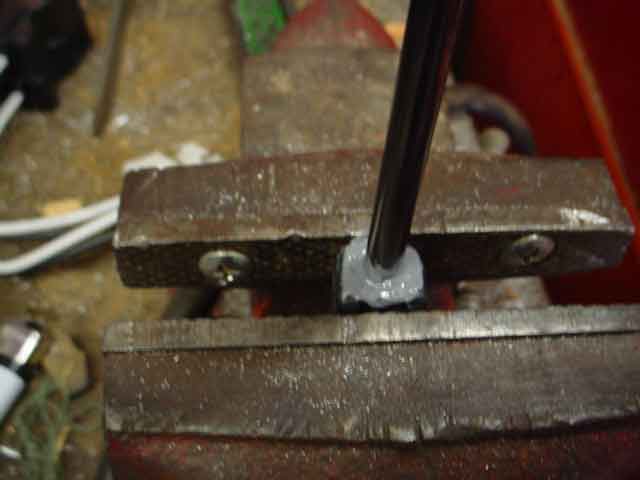
Waa-laa!
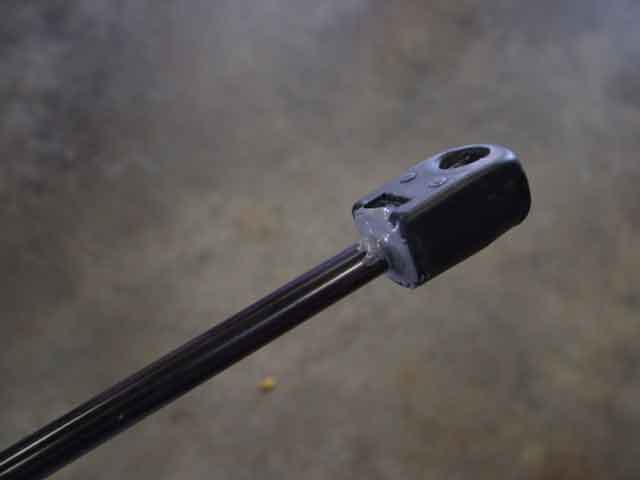
I reinstalled the shock and it was perfect!
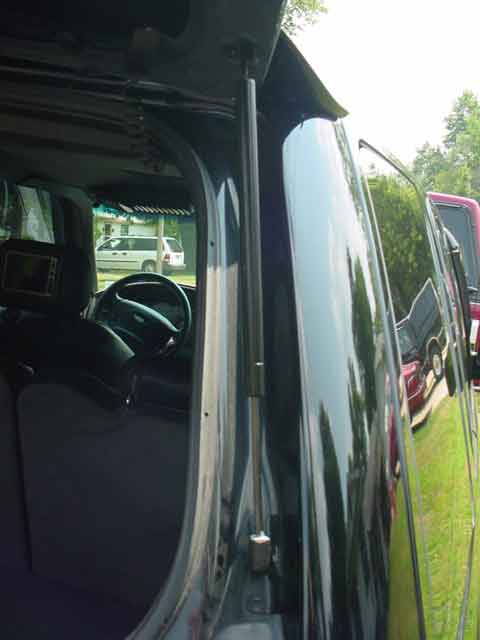
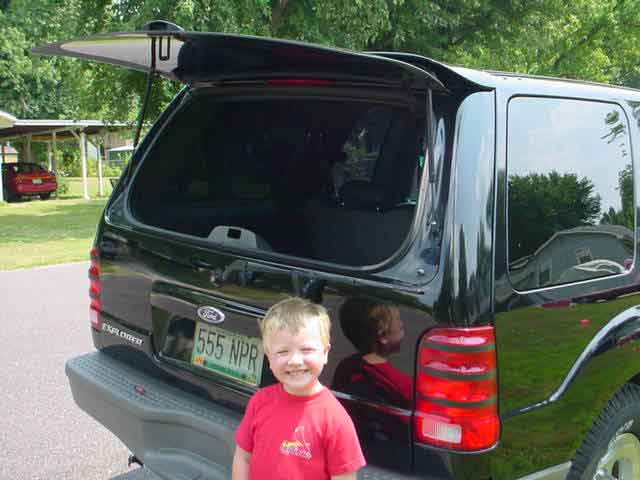
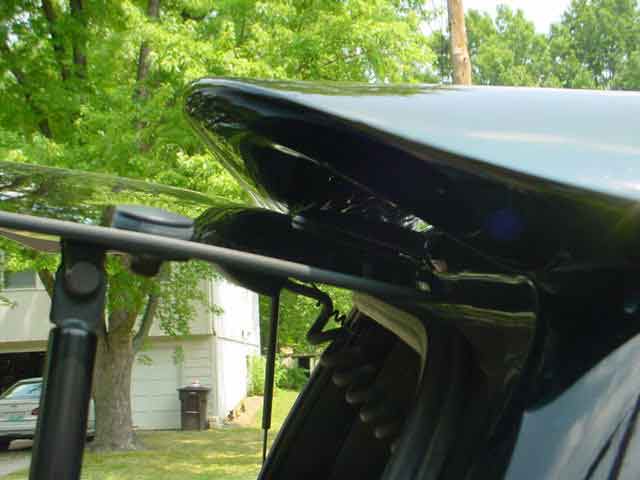
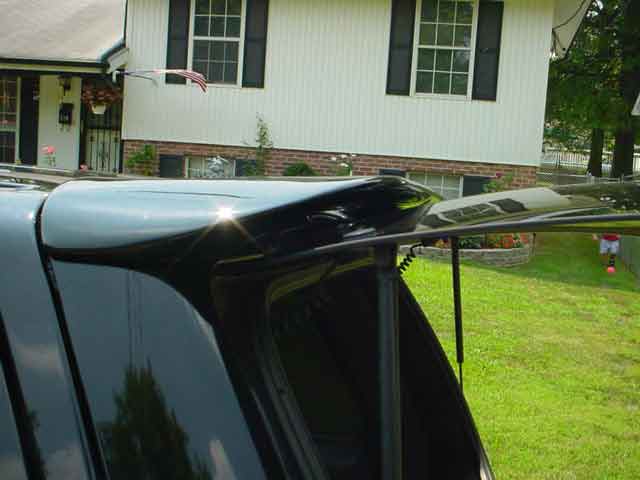
The following a shots from different angles to show it's impressiveness...
There is Tyler Ford, I could not have completed the project without his help.
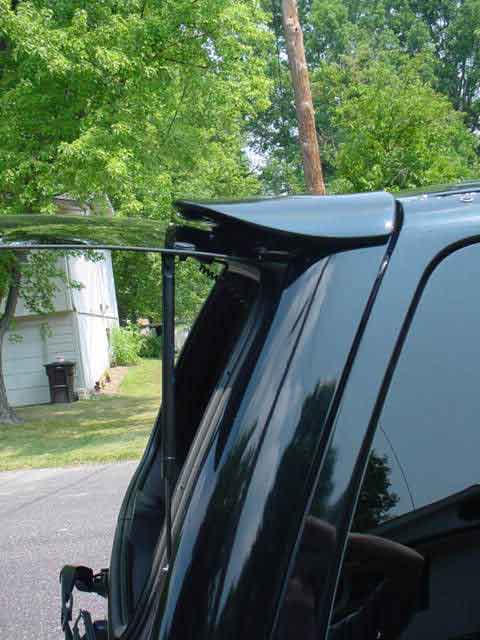

It' nice and close to the wing with about 1/2"-1/4" room to spare.

Can you spot the little helper in this picture?
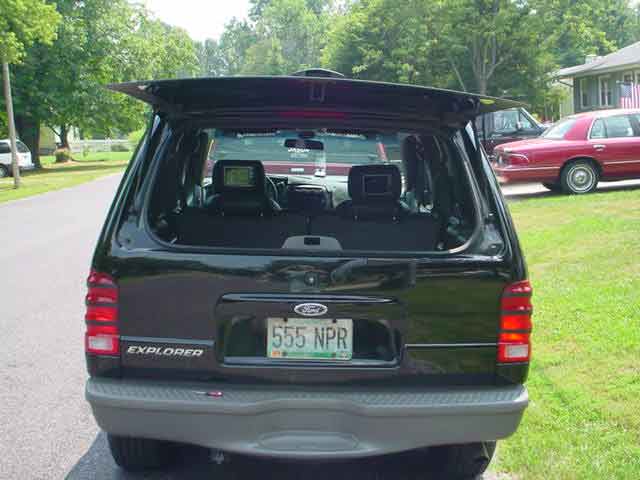
All done and looking clean! Thanks for stopping by. Good luck to you and as Norm say's don't forget to read all the safety manuals and warnings that come with your power tools. And never forget the most important safety measure, a pair of safety goggles. If you have any questions please ask and I would be more than happy to assist you.
Black Magic & the Digital Electronics - Matt