
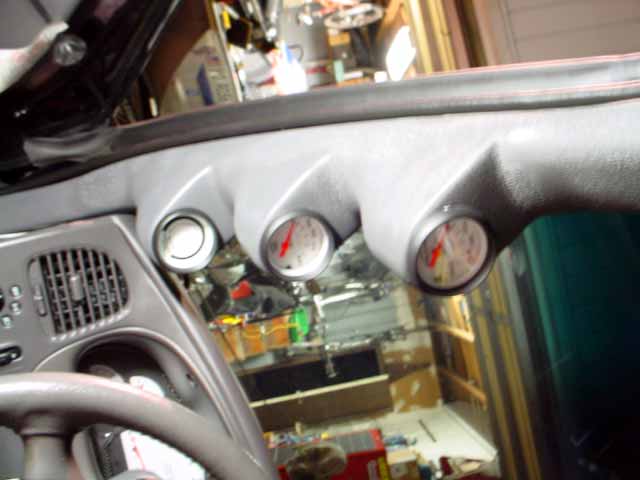
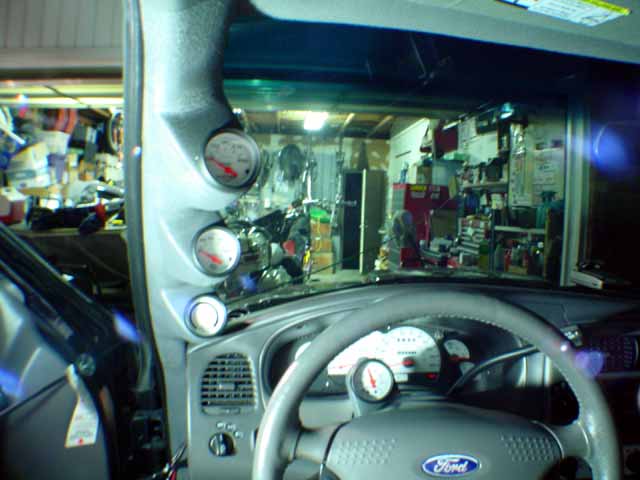
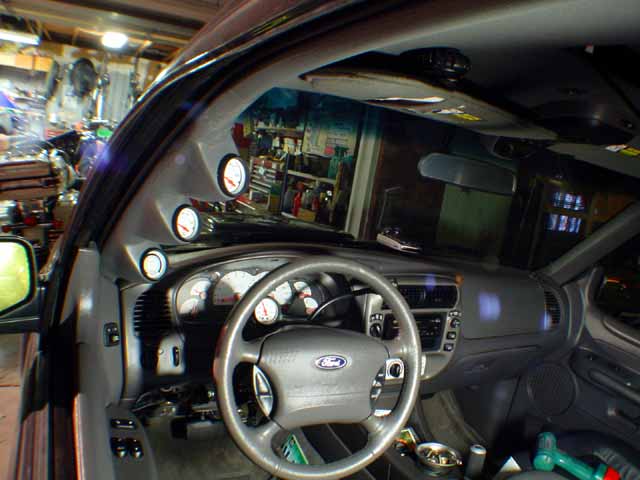
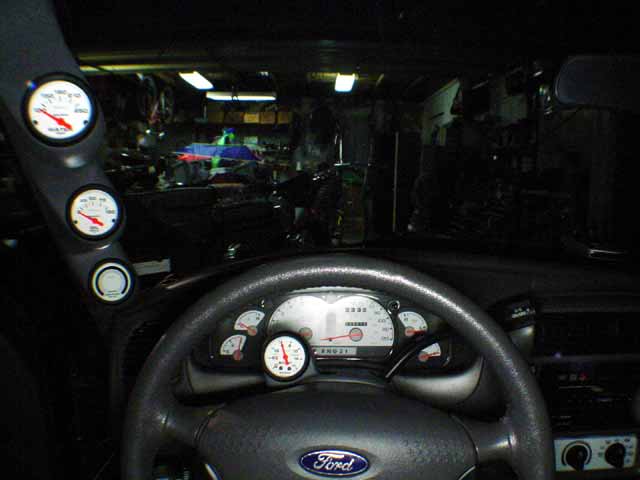
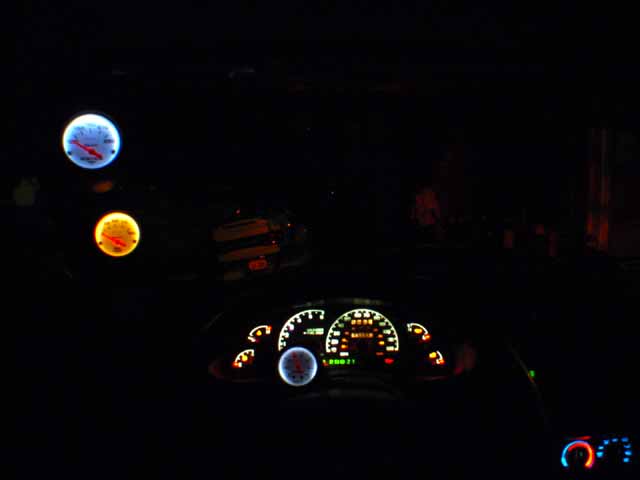
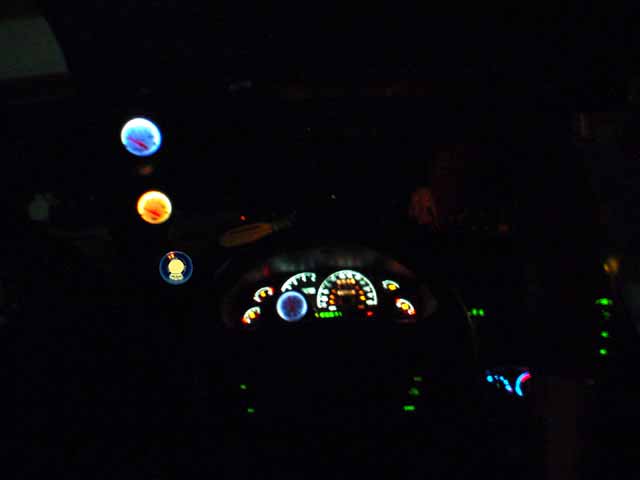
Below is how it all started...
I have room for 3 gauges.
Boost, Air/Fuel, and Temp or Oil. I will update when I get the gauges.
Here is a pic of what they will look like:
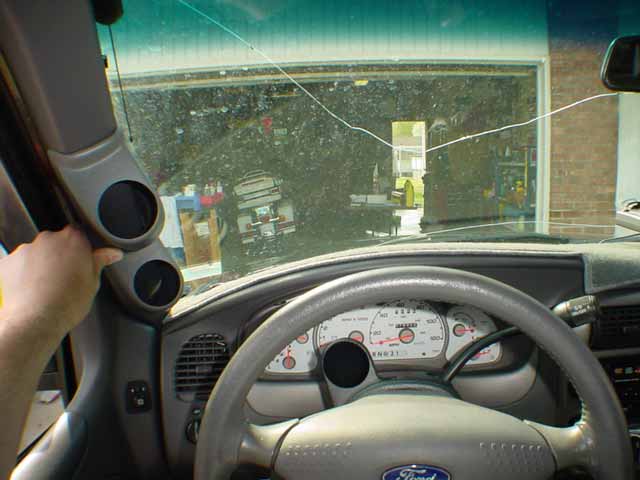
---===Here is the link to Jegs.com for the part===---
Just get either 1997-01 F-150, Automatic Transmission or 1997-01 F-150, Manual
Transmission, depending on, well if you are an automatic or manual.
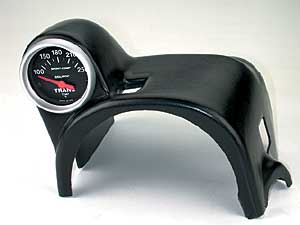
Here is a Photochop of what I am planning:
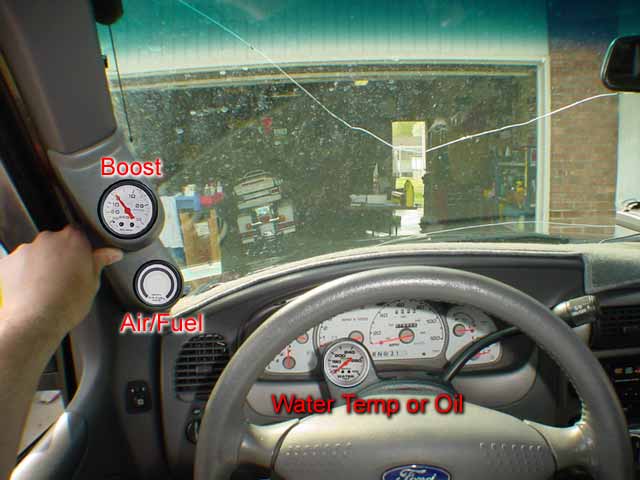
Oh YEA! Give me credit for passing this on to everyone! LOL
Ok, here is where I am now:
Started with two 2 pods for the A-Pillar:
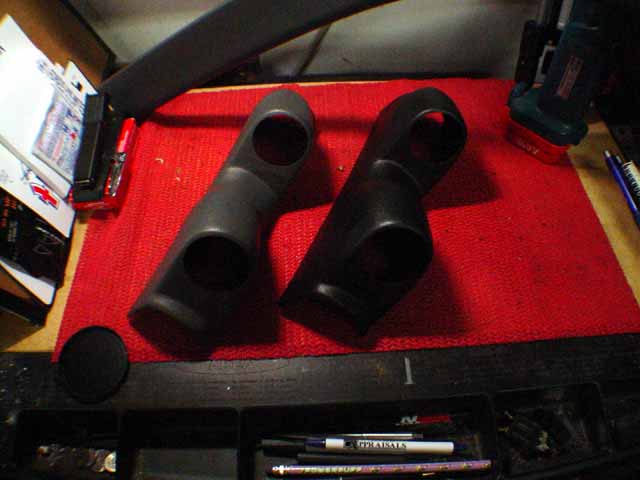
Cut one in half and attached it under the top 2 pod:
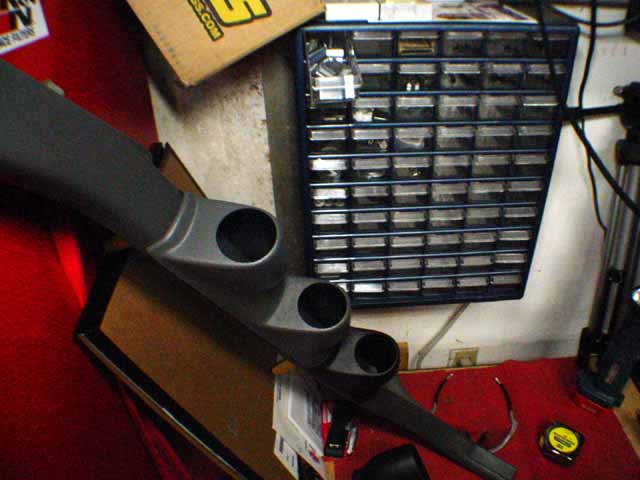
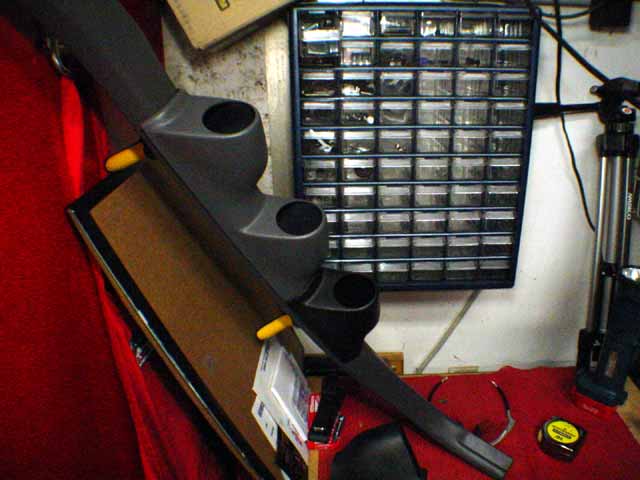
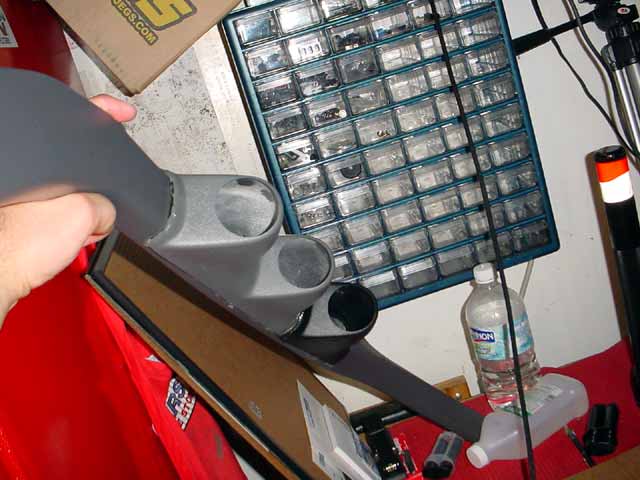
They are all plastic welded together. I am going to smooth out all the edges with body filler. Then either paint to match the interior gray or wrap in Carbon Fiber.
Here is the build up of the body filler. Started by filling in the edges:
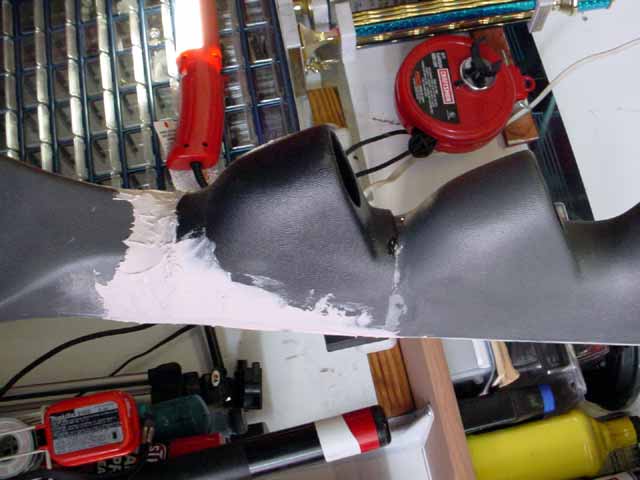
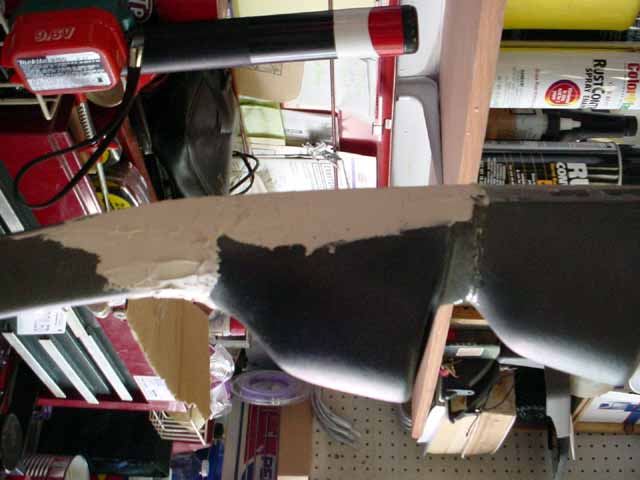
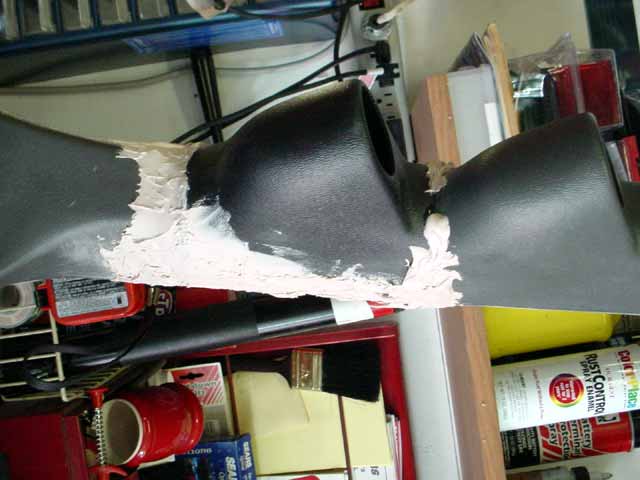
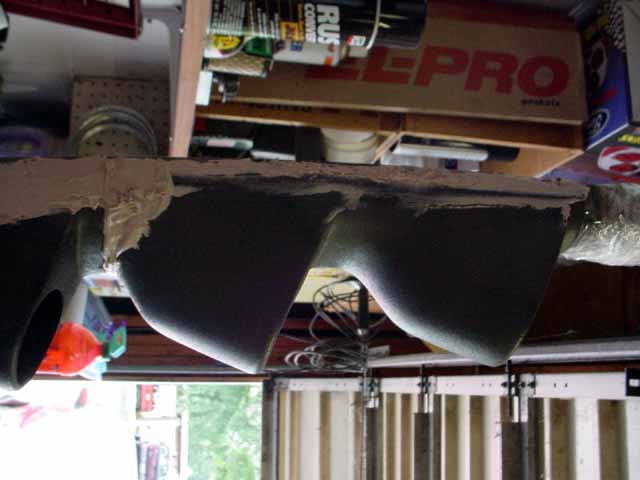
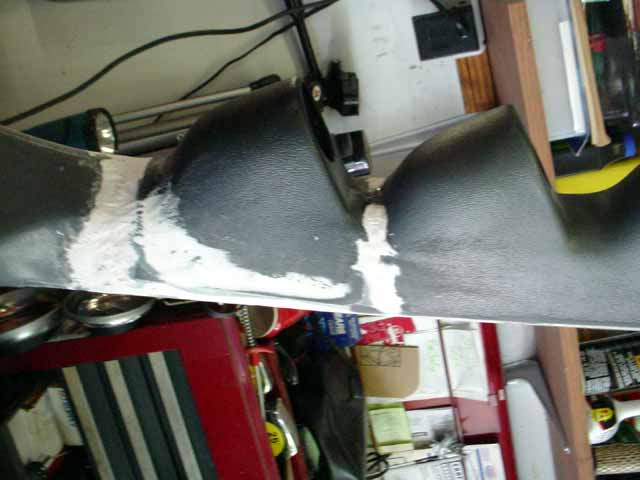
Filled them in and sanded with 80 grit. several times...
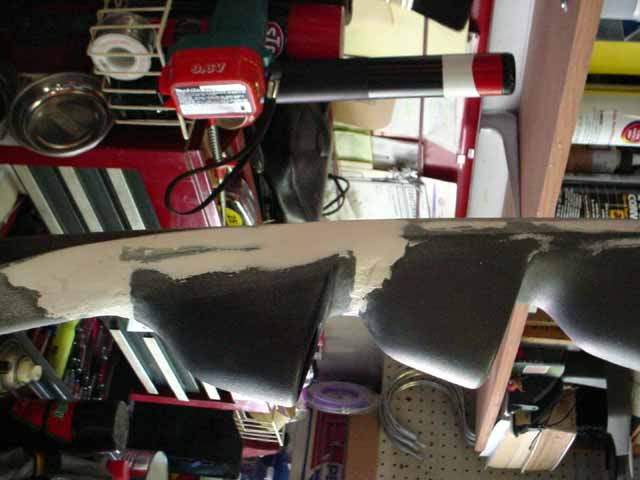
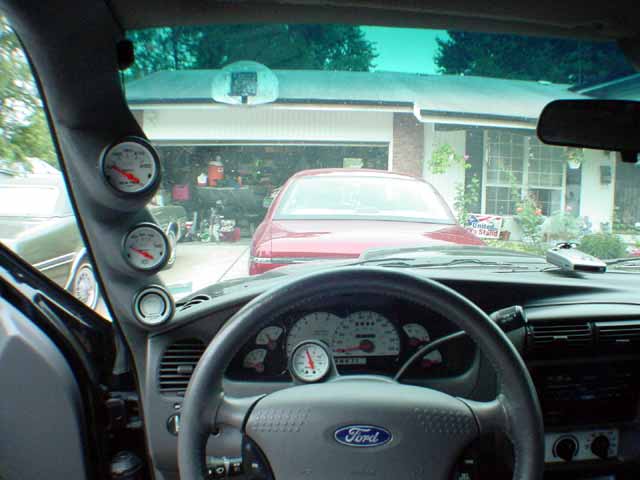
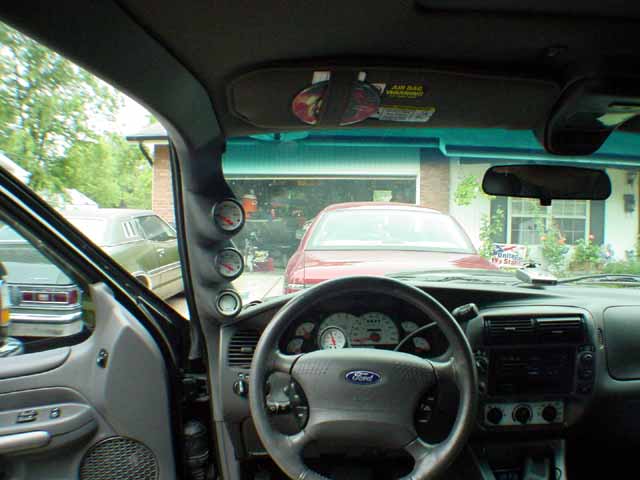
Just wanted to make sure I wasn't wasting my time. So I went out to the truck to test fit. Fits great! I am happy, now more work!
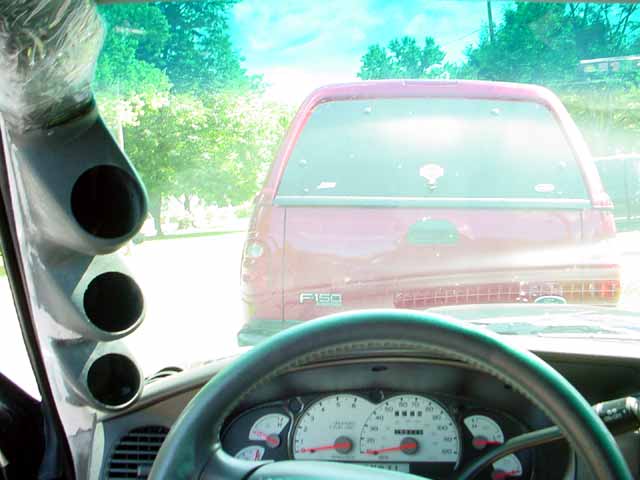
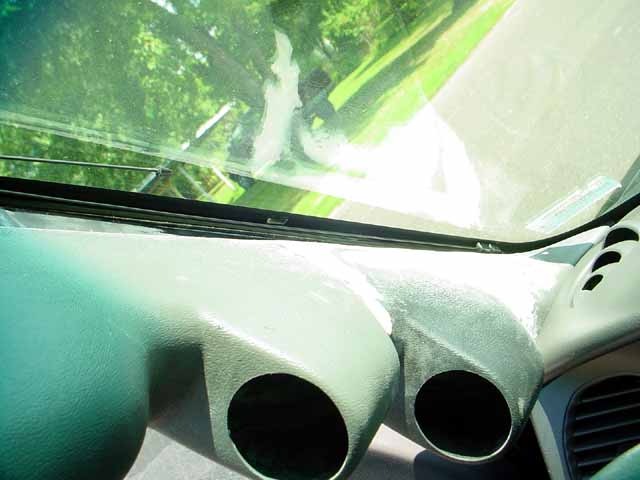
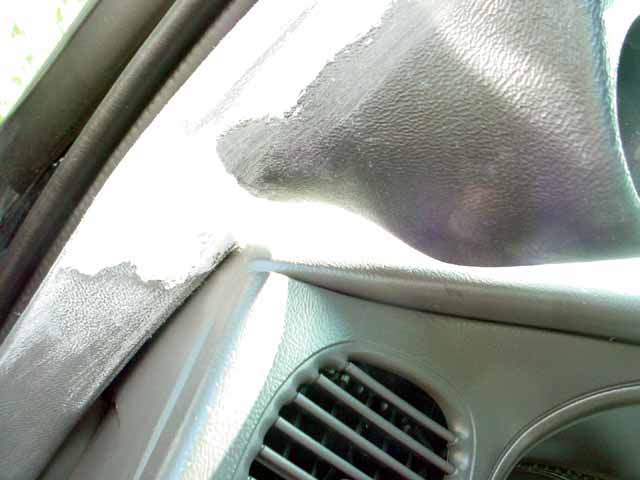
More filler and sanding...
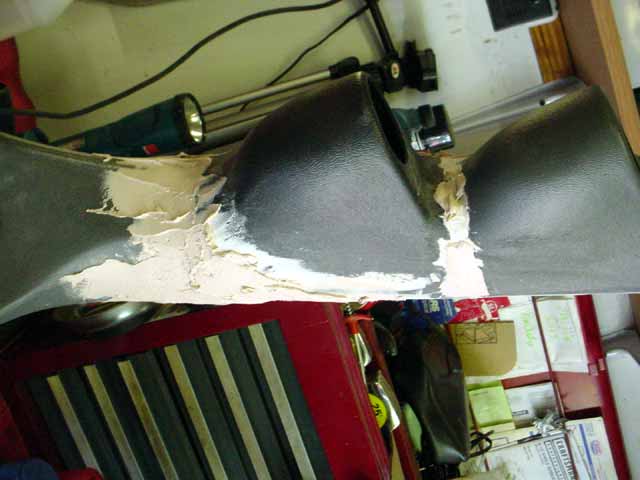
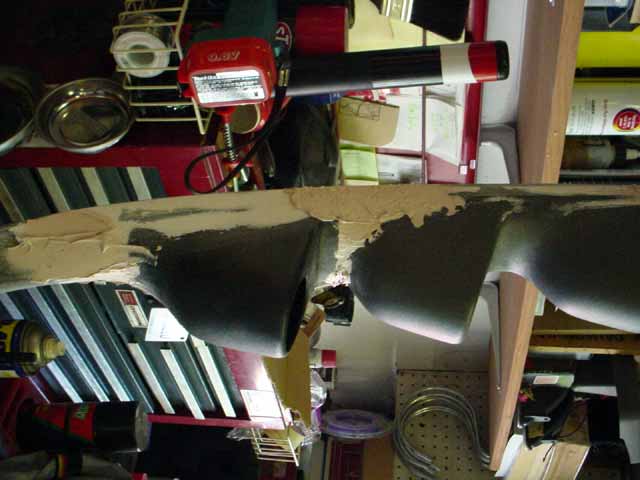
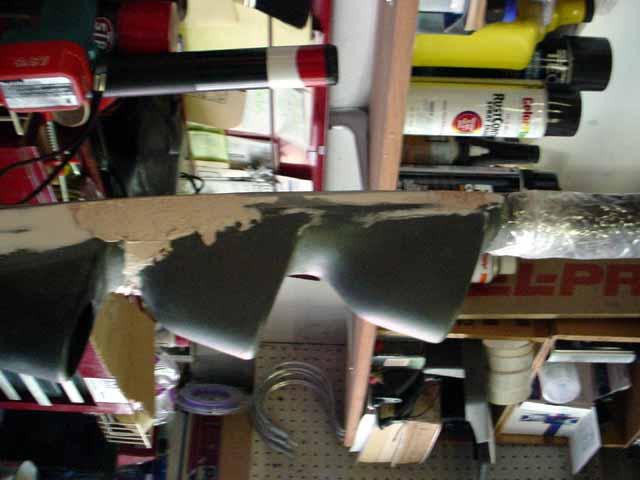
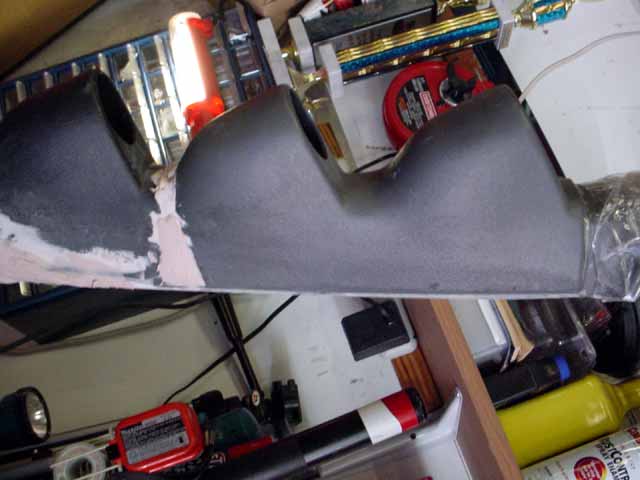
More filling and sanding...
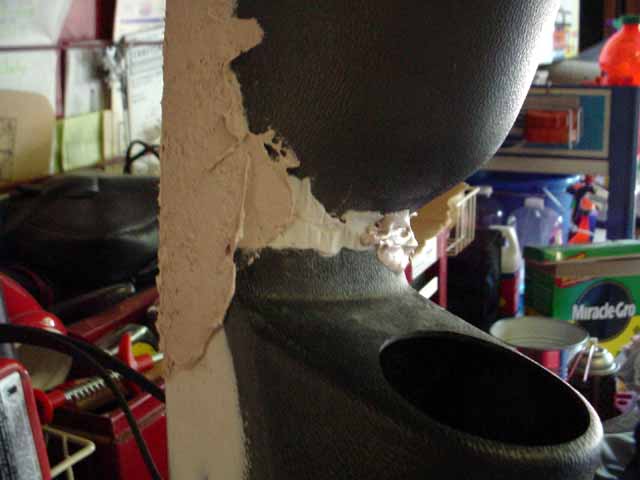
Did I mention filling and sanding...
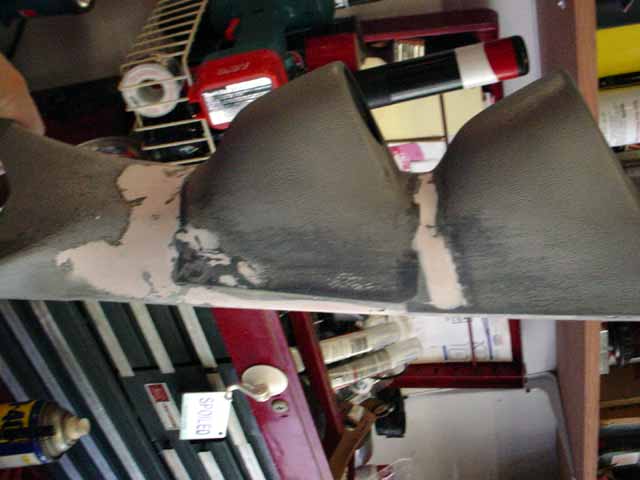
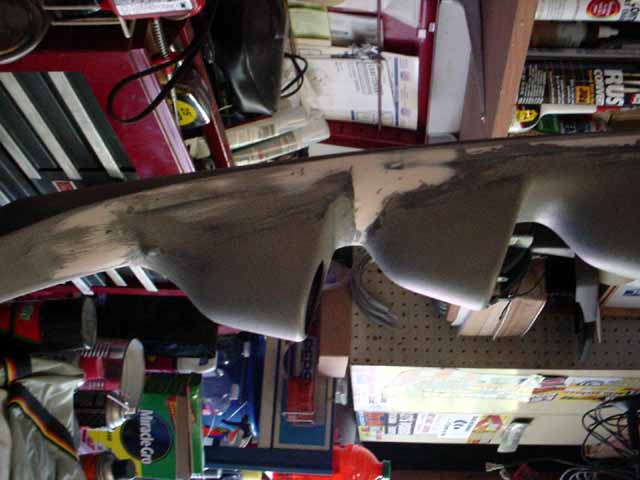
Ok, So now I had all the edges nice and smooth. So I put on a plastic glove and smeared a nice heavy on the hardener layer over everything...
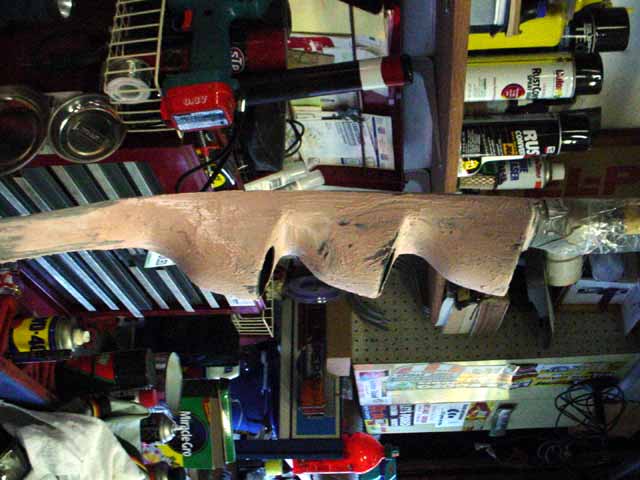
Makes for a lot of sanding...
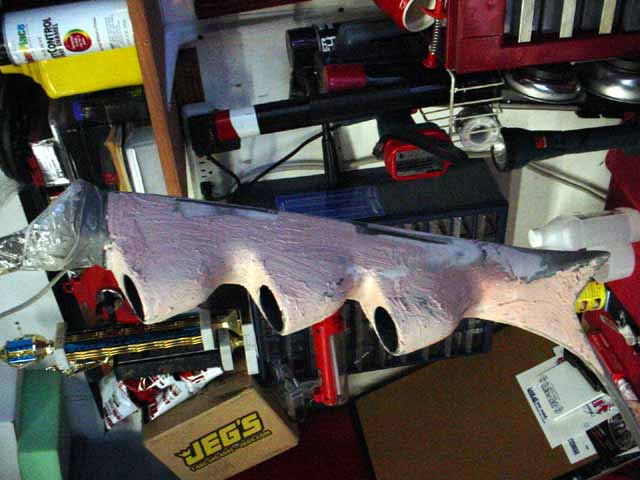
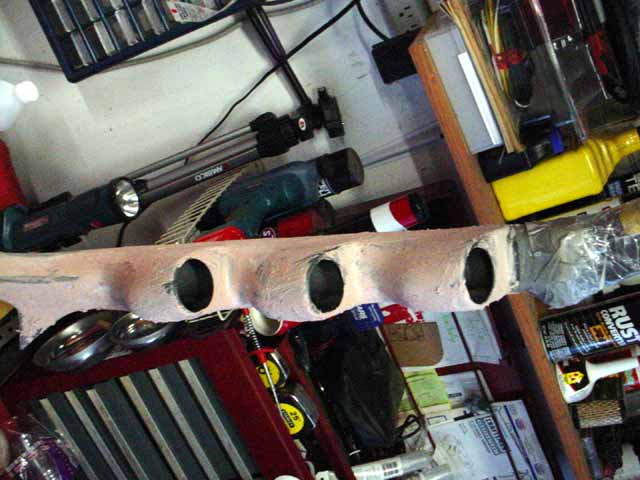
I sanded with 80 for ever, then up to 120 and then finally 180. Nice and smooth everywhere and looks great!
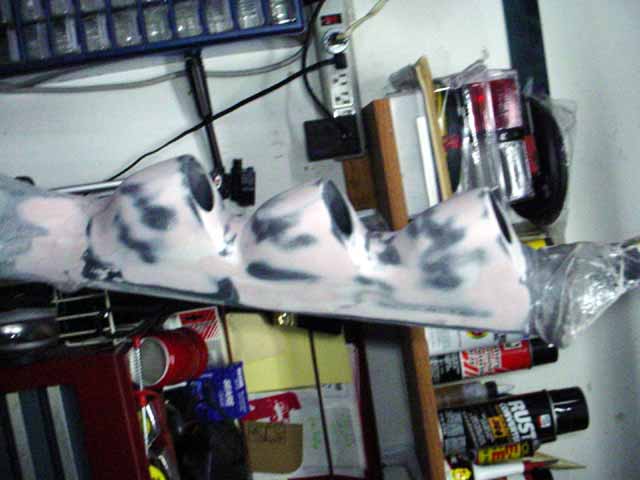
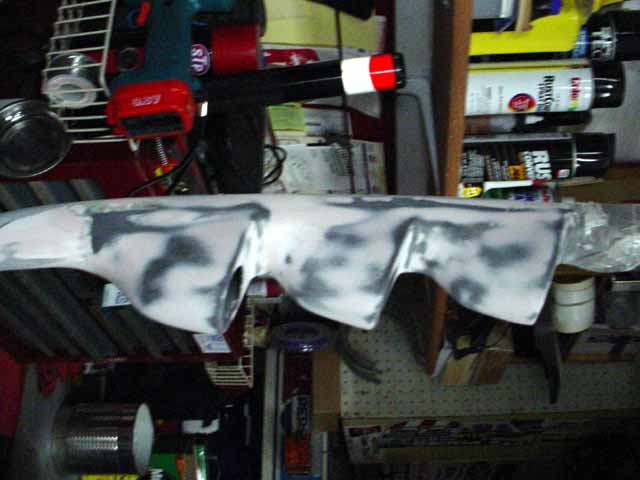
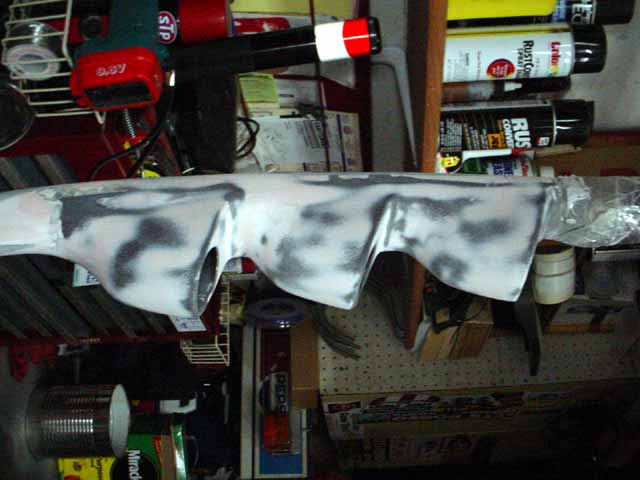
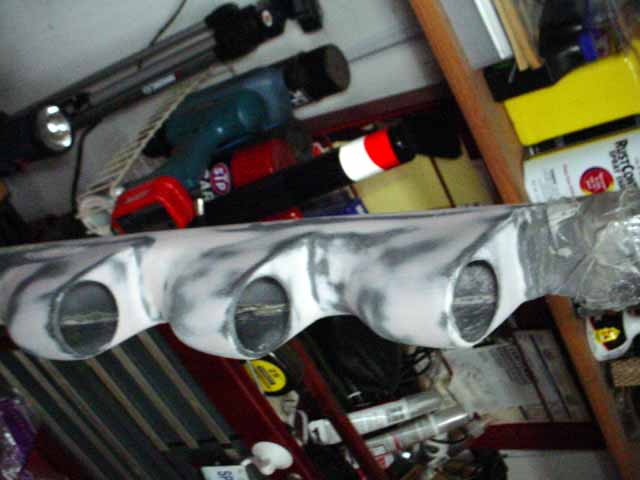
I just need to clean up the top where the pods meet the factory pillar. Then on to the finish. What every that will end up being.
Ok, the top is all filled in:
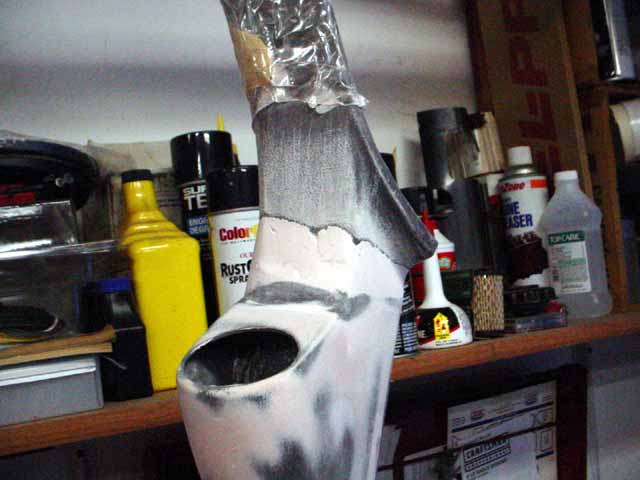
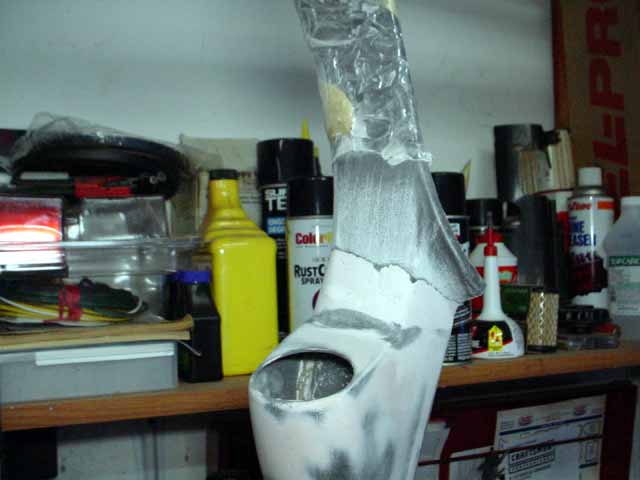
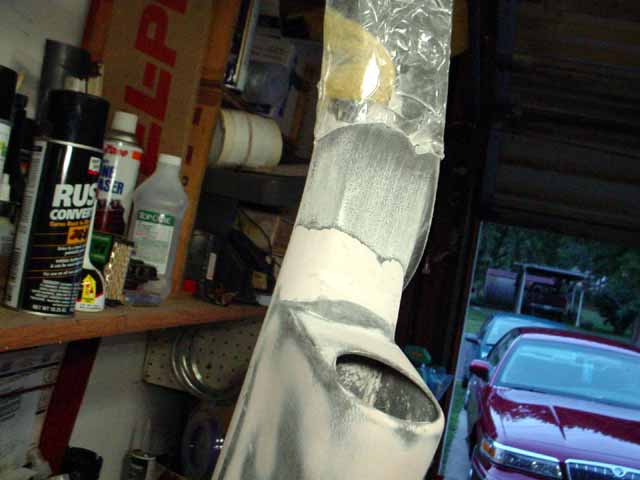
Another Layer:
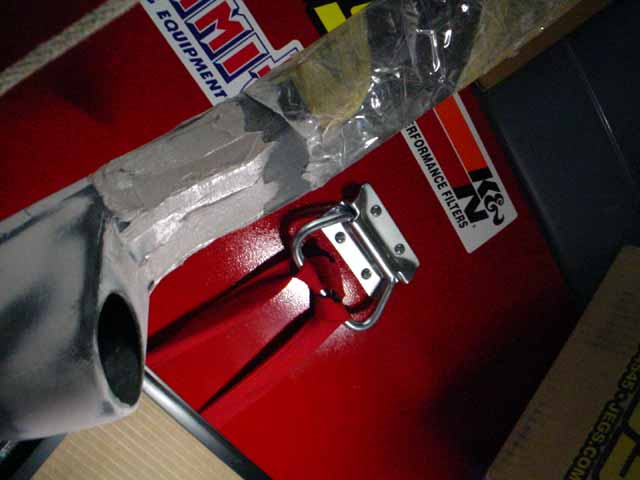
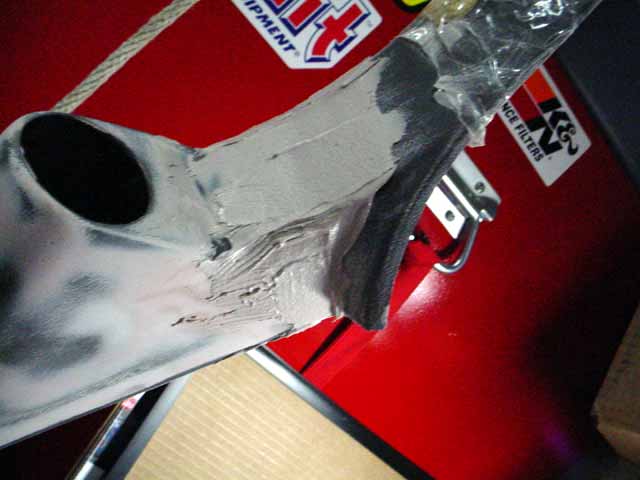
Ok, I smoothed that all out with 80 grit sandpaper. Then 180.
Now on with two thin layers of Glazing Putty, sanded with 180 in between...
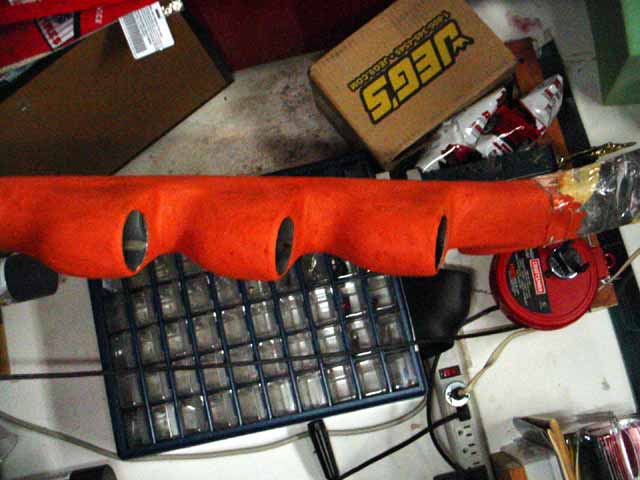
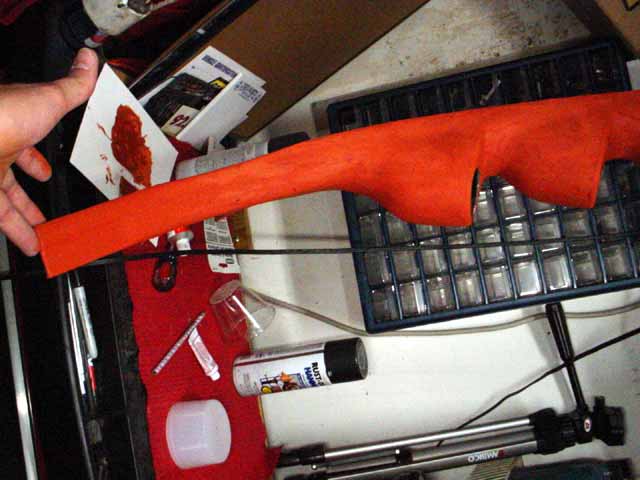
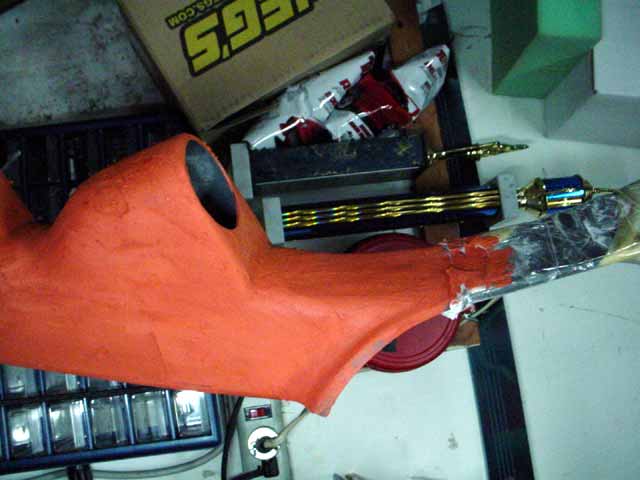
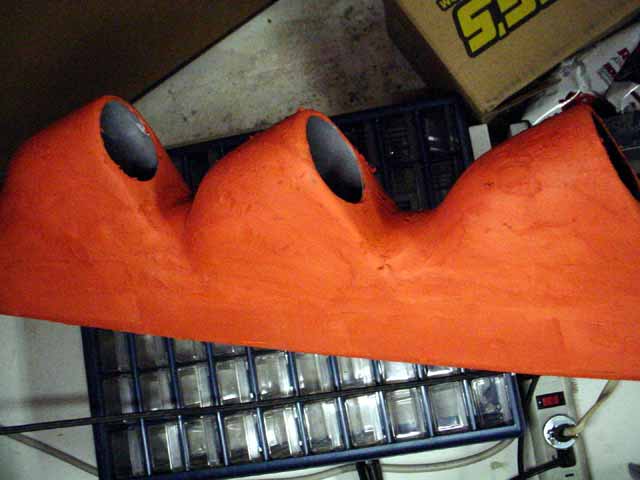
Guess what tomorrow will bring... Lots of sanding and then primer and sanding, primer and then finish coat!
Here is the sanding job I did at 4:00 in the morning. Couldn't sleep so I worked on it some...
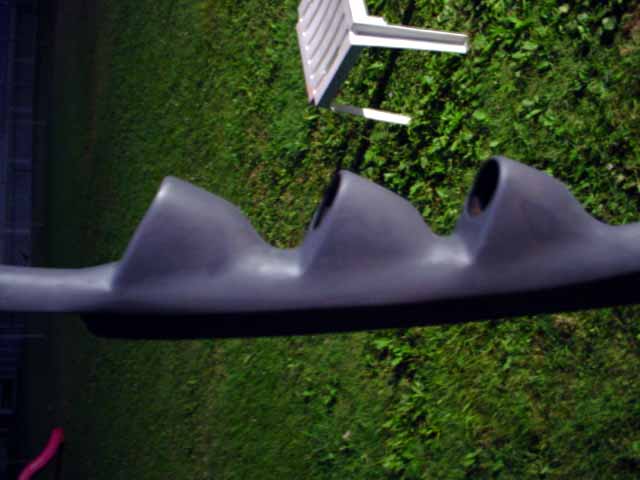
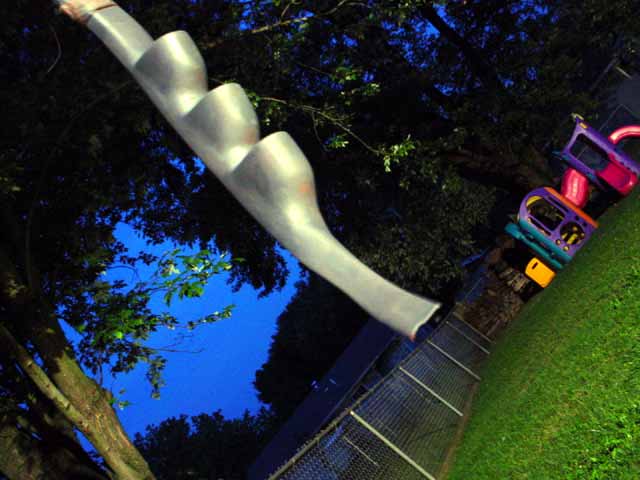
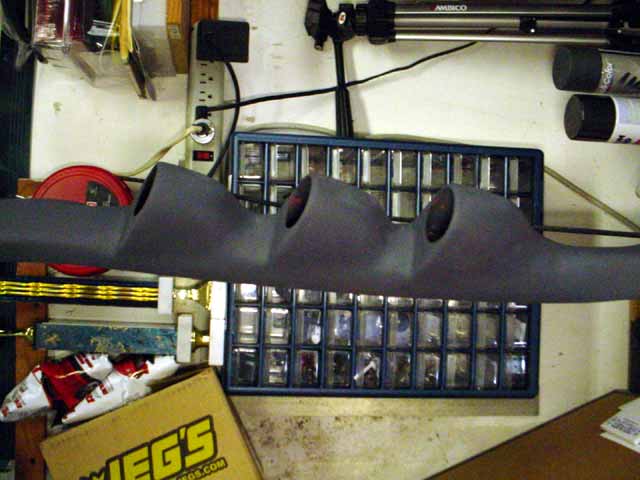
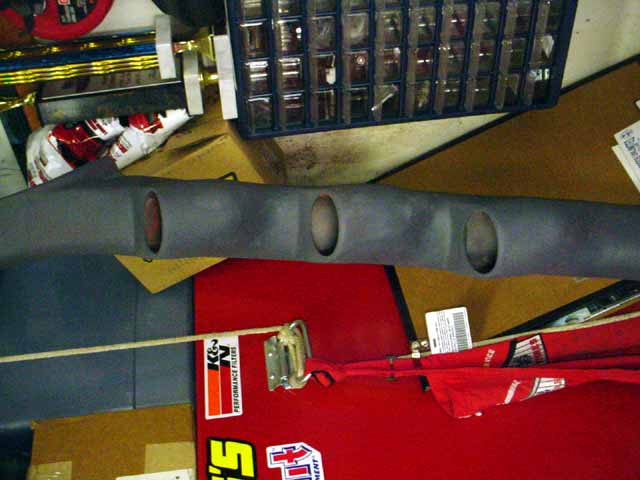
One more spray of primer...
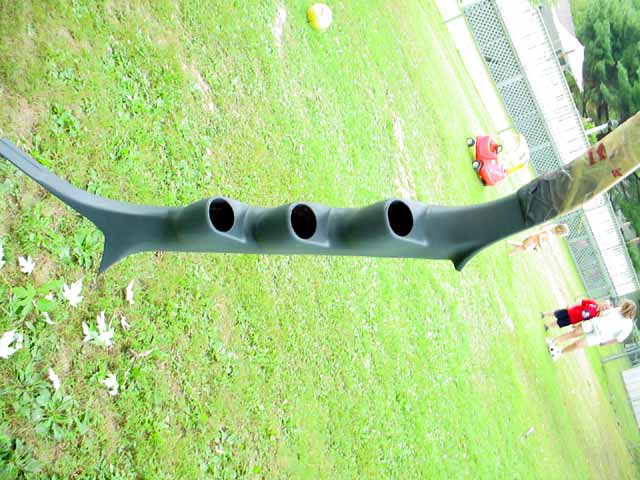
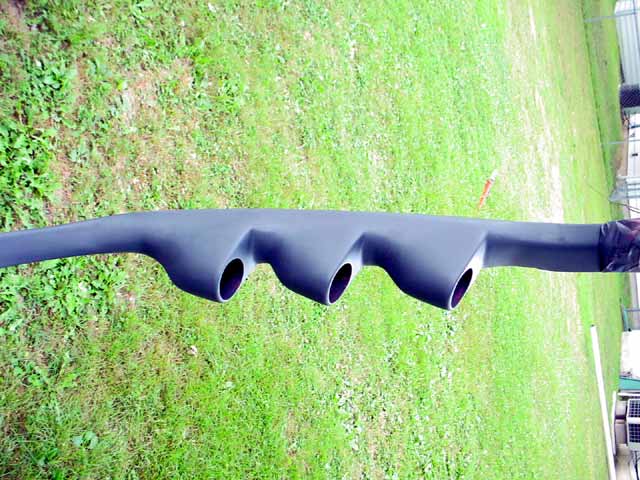
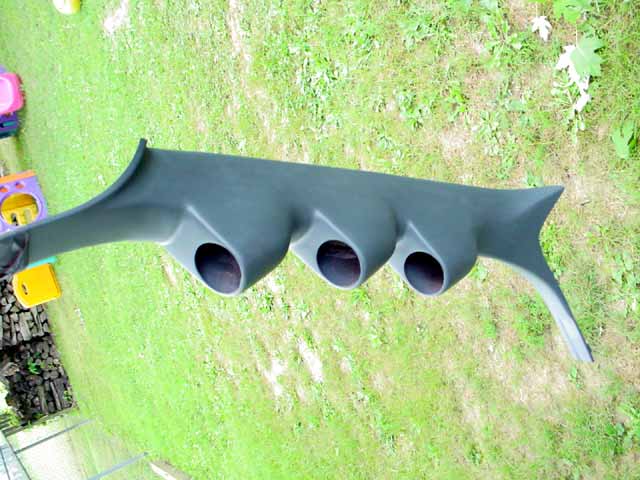
It is ready for the next step in my plan... I found this Wrinkle Paint at Advance Auto Parts Store:
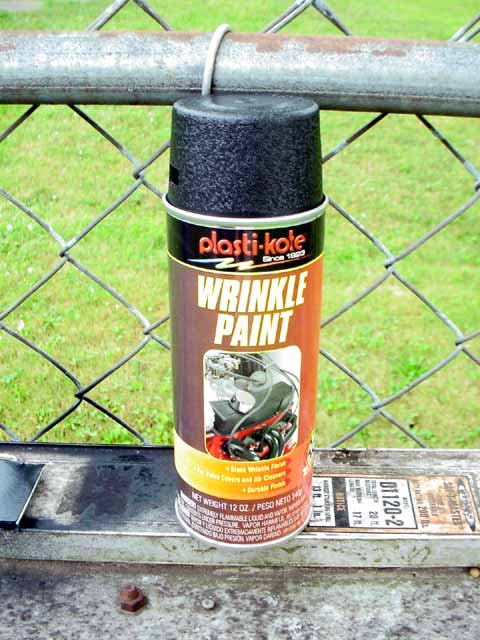
You spray on a heavy coat, wait 10 minutes...
spray on another heavy coat, wait 10 minutes...
spray on another heavy coat, then it take 2 hours and it starts to
wrinkle up. It looks just like th interior pannes texture.
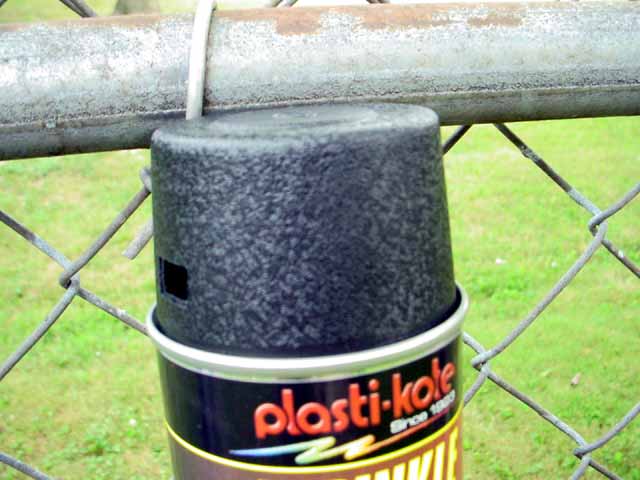
I was testing and ended up using too much on my test pieces. Leaving me with 1/2 a can. Now I will have to wait till tomorrow. Since the Advance Auto is up by my work 45 miles away. Oh well, on to cutting out the back of the piller..
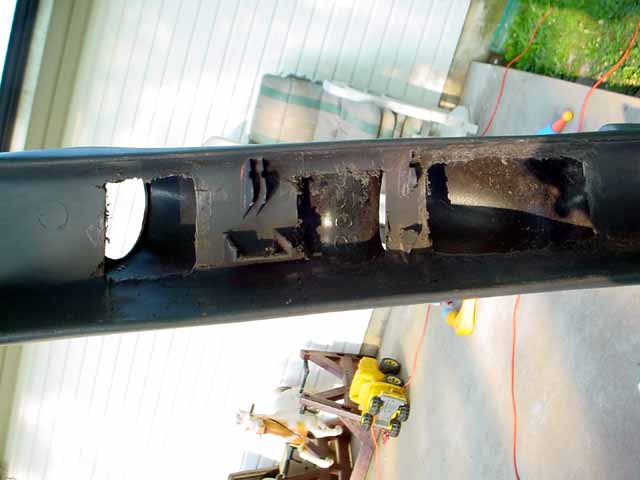
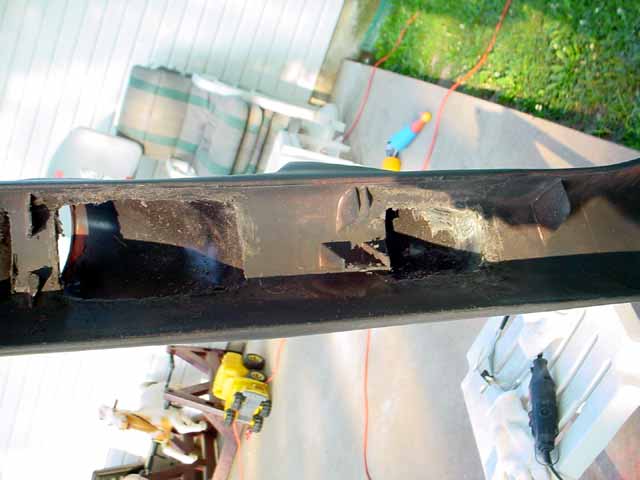
I made three rectangle holes. One behind each pod for the wires and tubes from the sending uints.
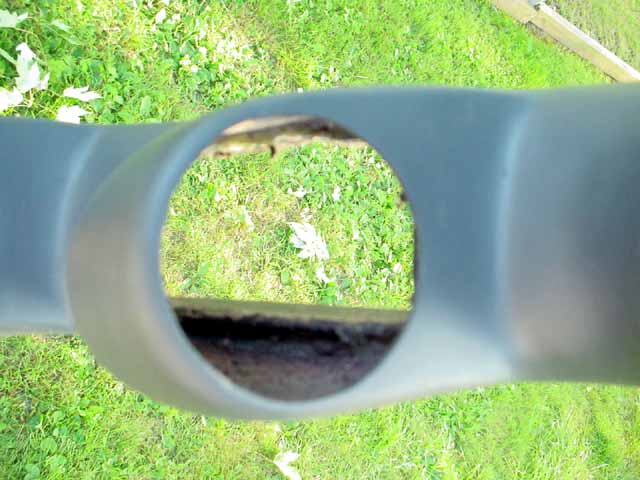
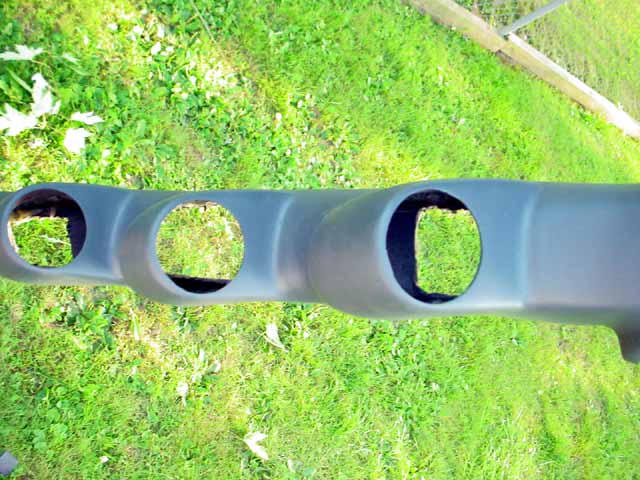
Wrinkle paint comming ASAIGOW! (As Soon As I Get Off Work)
Here is the first coat of Wrinkle paint:
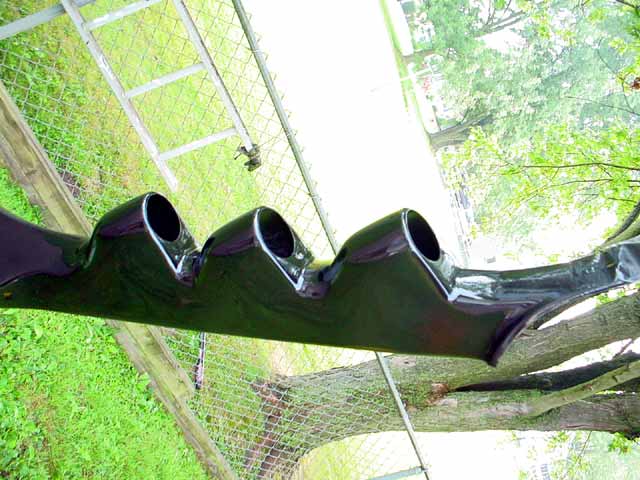
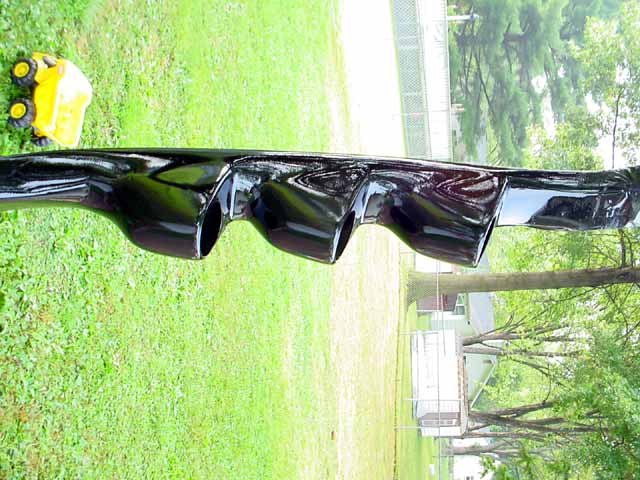
It goes on smooth, following the directions of paint wait, paint wait, paint wait...
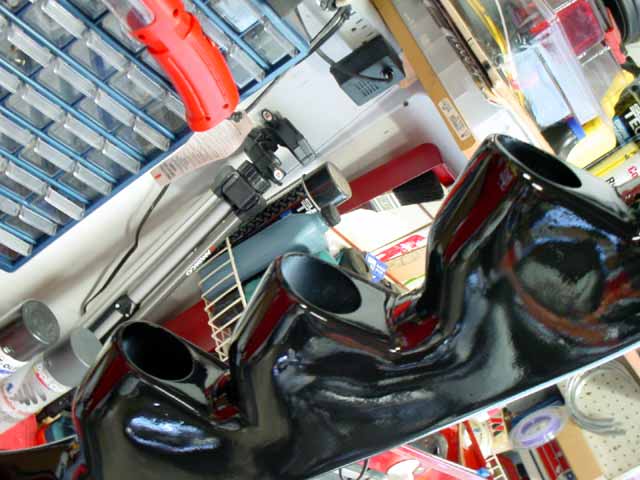
With in 2 hours the wrinkling begins...
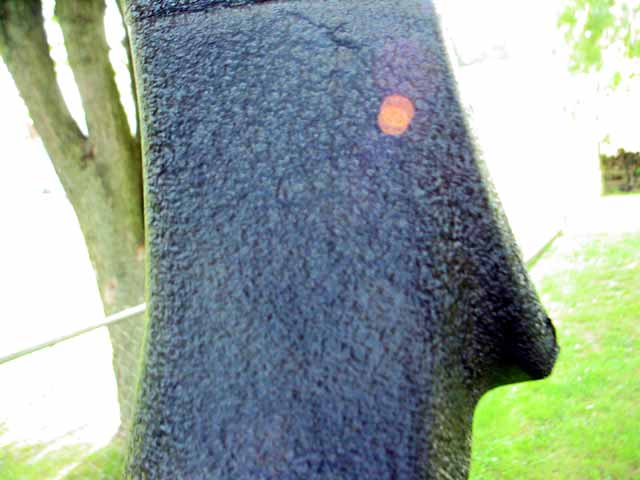
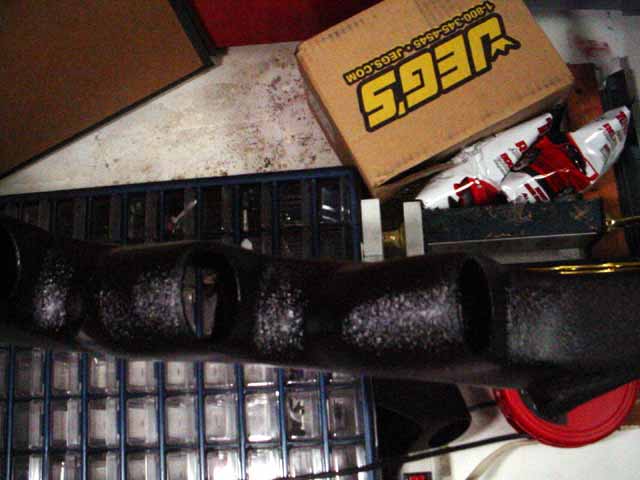
It is starting to wrinkle up and look great!
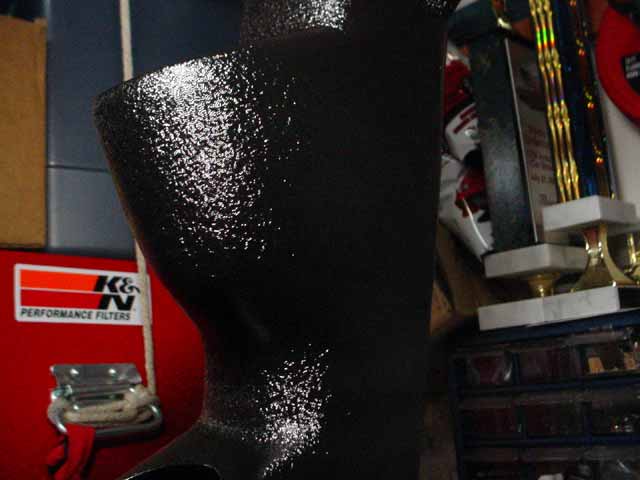
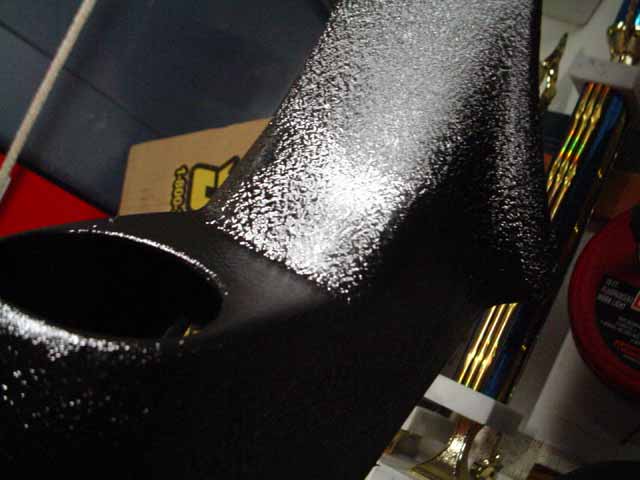
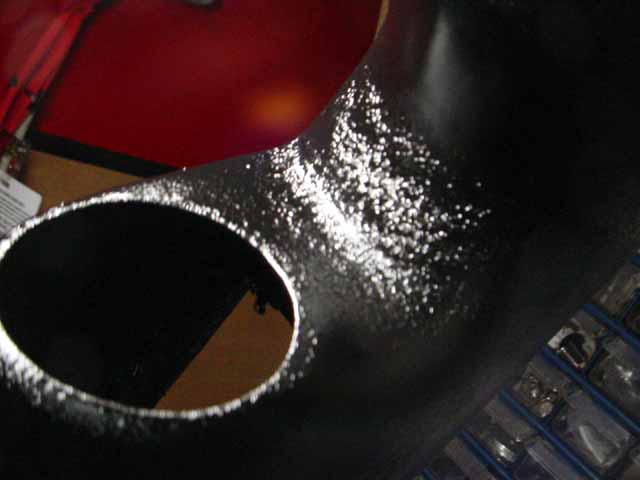
It looks shiny like that since it is still wet.
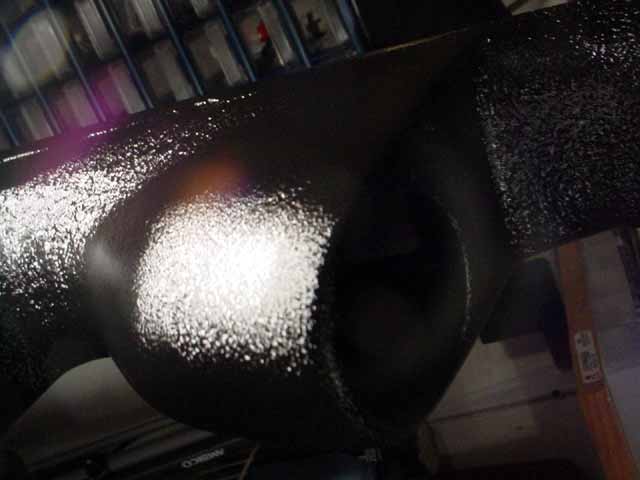
I am very, very happy with how it is coming out! It takes at least 24 hours for it to be able to handle it. So to be safe I am waiting for Saturday evening. Then I will be able to get it all installed.
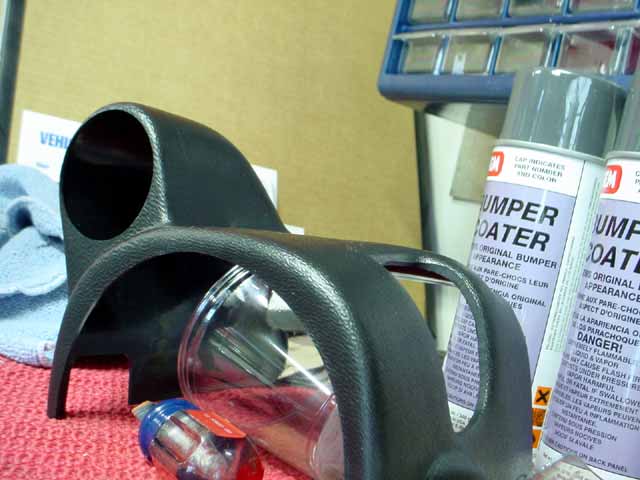
Here is the Steering Column Pod.
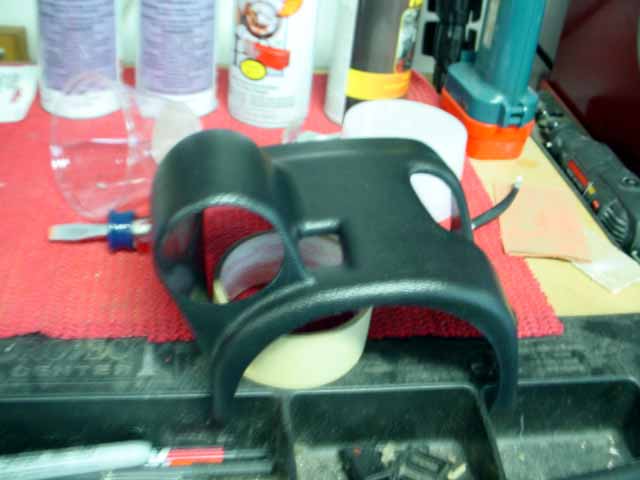
Here it is the black that it comes in... In the back ground you can see my SEM Porducts Vinyl Bumper Coater that I use to color interior parts.
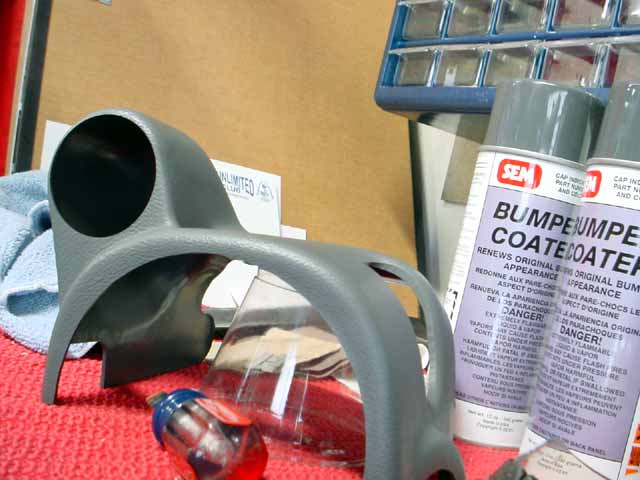
Here is is after spraying, now a perfect match:
I started looking into the gauges...
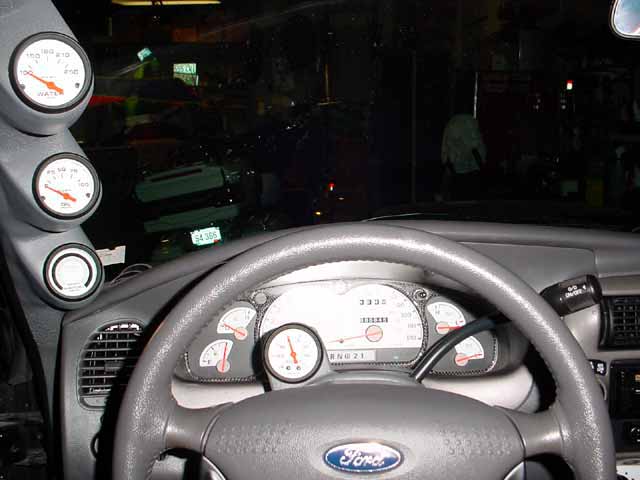
Here is what it looks like with the stock bulb:
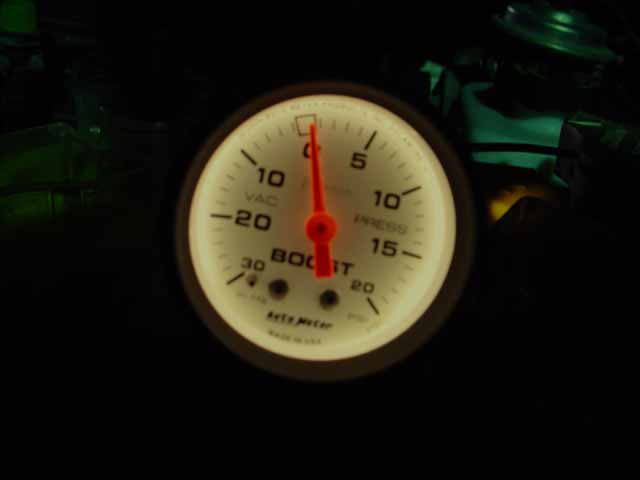
Nice but I like this better:
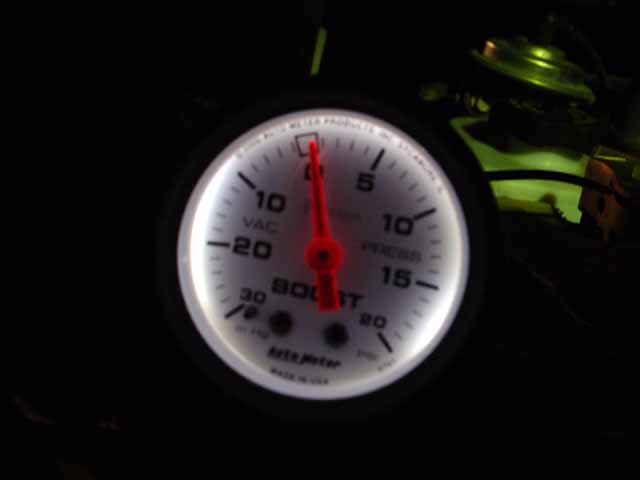
That is from an LED, 194. I am going to go with those, they look great!
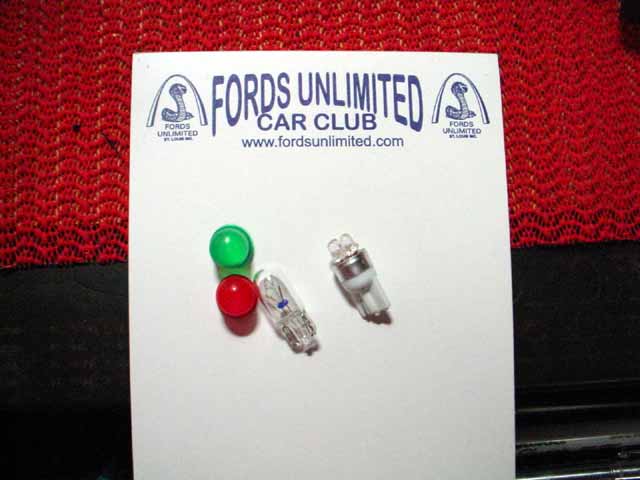
There is the stock 194 bulb on the left, the right is the 4-LED bulb that I am going to use. on the far left is the red and green bulb covers you get from Autometer.
Here you can see the configuration of the 4 LED's:
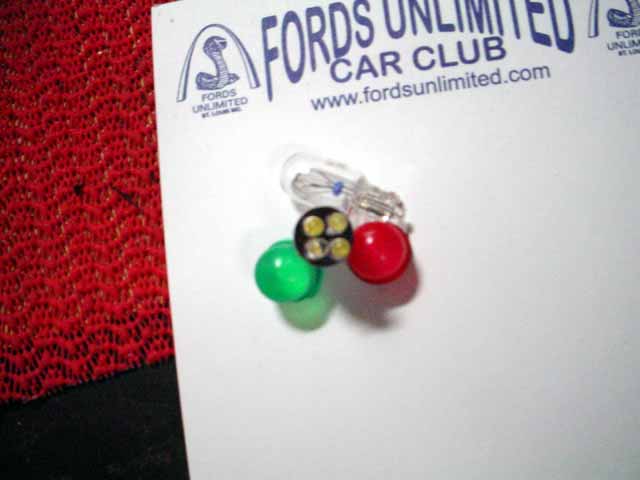
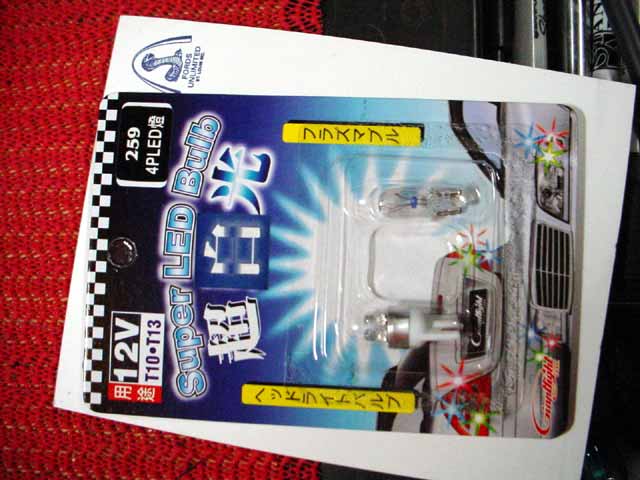
That is the package they came
in, got off ebay.com:
